Create a Grep agent: build playbook
Last updated: July 13, 2026
Create a Grep agent: build playbook
Watch: create a Grep agent
Grep-styled walkthrough of creating an agent in the builder.
What to build first
Start with one narrow workflow where a person already follows a repeatable process. Good first agents usually have:
A clear decision or recommendation to make.
Known source material, policies, examples, or rubrics.
Inputs that can be collected consistently.
Outputs that a reviewer, downstream system, or API can use.
Enough completed examples to test whether the agent is right.
For example, a payments or risk team might start with an MCC validation agent, a website assessment agent, or a pre-CDD risk research agent. Those are strong candidates because they have repeatable steps, clear evidence requirements, and an obvious handoff to an analyst.
The agent-building map
Build the agent in this order:
Define the job and write the core instructions.
Add static context such as policies, rubrics, examples, and reference tables.
Break the workflow into skills and connect any tools the agent needs.
Define the inputs users or the API will provide for each run.
Define the output format and any JSON schema.
Choose effort and model settings.
Test with known examples before sharing.
Share inside your organisation or call the agent through the API.
Related builder guides
Use these guides when you are designing the skills and output contract for an agent.
Step 1: Start or copy an agent
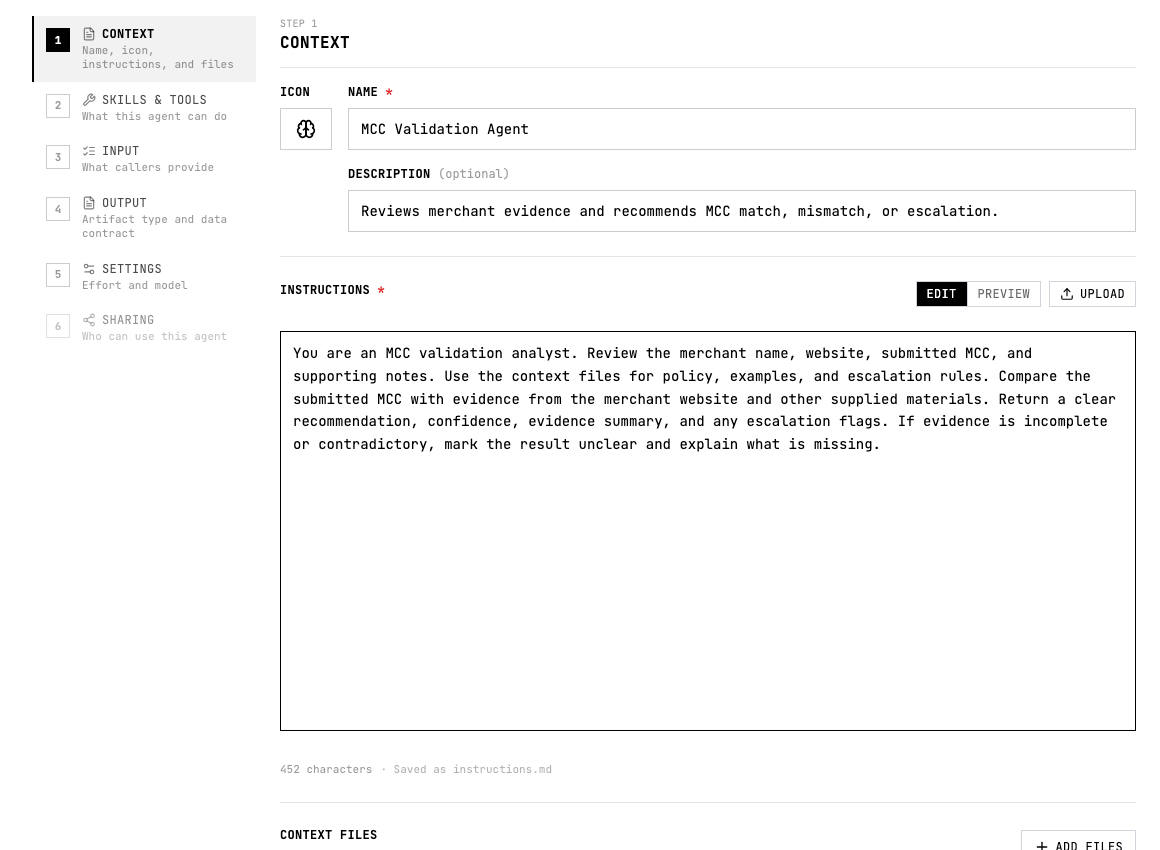
In the Context step, name the agent, write a short description, and add the durable instructions it should follow every run.
Open Grep and go to the agent creation area for your workspace. Depending on your workspace configuration, you may be able to create a blank agent, copy an existing agent, or use a guided creator that drafts the agent from uploaded policies and examples.
If there is already an agent close to what you need, copy it first. Copying an existing agent is the fastest way to inspect how objectives, instructions, context, skills, inputs, outputs, and settings work together.
If you use a guided creator, treat the generated agent as a first draft. Review every section before sharing it with your team.
Step 2: Write the objective and instructions
The objective is the agent's job in one or two sentences. The instructions are the operating procedure the agent should follow every time it runs.
A strong objective answers:
What job is the agent doing?
Who is the output for?
What decision, recommendation, or next step should it produce?
What evidence standard should it meet?
A strong instruction set includes:
The role the agent should take.
The workflow steps it must follow.
The context files it must use.
How to handle missing, conflicting, or low-confidence information.
When to escalate to a human reviewer.
The expected output structure.
Do not only upload context and assume the agent will use it correctly. Reference the context directly in the instructions.
You are validating the merchant category for a submitted business.
Use the MCC reference table, the risk policy, and the examples in Context.
Compare the merchant's stated business activity against the website, product descriptions, and any supporting materials.
If the evidence supports the submitted MCC, mark it as a match.
If the evidence points to a different MCC, recommend the better MCC and explain why.
If the evidence is incomplete or contradictory, mark the result as unclear and escalate for review.
Return the result using the required JSON schema.
Step 3: Add context
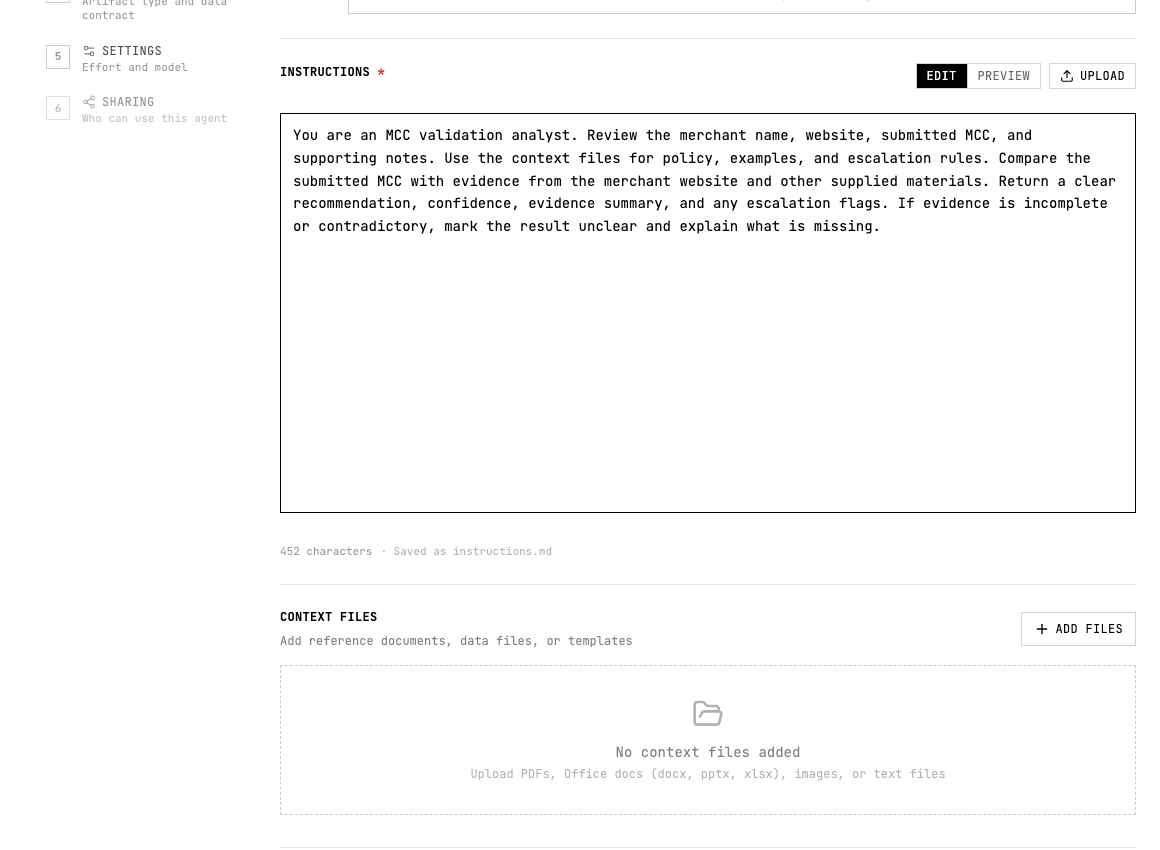
Use Context files for policies, examples, rubrics, data tables, and templates that should be available to every run.
Context is static information the agent should use across many runs. Put durable materials in Context, not in user inputs.
Put this in Context | Why |
|---|---|
Policies and standard operating procedures | The agent should apply the same rules every run. |
Reference tables such as MCC mappings or risk categories | They are shared knowledge, not run-specific data. |
Rubrics, scoring guidance, and escalation rules | They define how judgement should be applied. |
Good and bad completed examples | They show the agent what high-quality work looks like. |
Output examples | They reduce ambiguity about format and level of detail. |
Which file format should you use?
Format | Best for | Example |
|---|---|---|
Markdown | Instructions, policies, rubrics, playbooks, narrative examples | A due diligence SOP or escalation rubric |
CSV | Reference tables, mappings, lookup lists, eval sets | MCC code table, country risk table, known test cases |
JSON | API payload examples, output schemas, nested structured data | An example request body or required output object |
PDF or DOCX | Canonical source documents that already exist in document form | A formal policy manual or customer questionnaire template |
When possible, convert messy source material into Markdown, CSV, or JSON before uploading. Clean structure makes the agent easier to test and debug.
Step 4: Add skills and tools
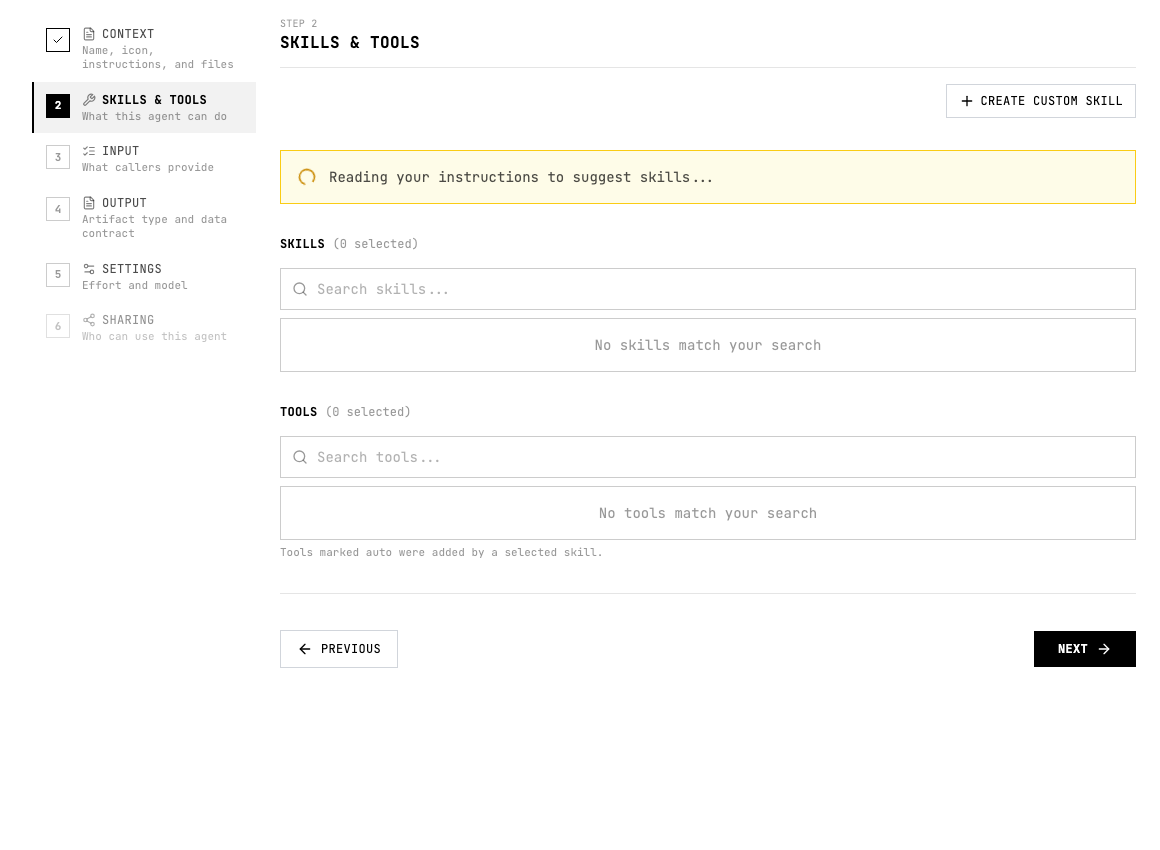
Add skills and tools that match the human workflow, such as website review, evidence comparison, enrichment, or structured drafting.
Skills are reusable instructions for a sub-task. Tools are external capabilities the agent can call, such as web search, website scraping, adverse media checks, sanctions checks, enrichment providers, or internal APIs.
A practical way to design skills is to map each step a human would perform to one reusable skill.
Workflow | Skill examples | Tool examples |
|---|---|---|
MCC validation | Classify business activity, compare against MCC table, explain mismatch, calibrate confidence | Website reader, search, merchant data API, internal MCC reference |
Website assessment | Extract business model, identify restricted products, assess operational activity, summarise evidence | Website scraper, WHOIS/domain tools, search, screenshots if available |
Pre-CDD risk research | Research business model, find risk indicators, check adverse media, produce analyst brief | Search, news search, adverse media provider, company enrichment, compliance screening tools |
Use tools for deterministic or source-specific checks. Use Grep's reasoning for interpretation, synthesis, evidence review, and judgement calls. For example, a domain age check is better handled by a WHOIS or domain API, while deciding whether a website's business model fits a high-risk category is a better agent task.
If a required tool or integration is missing, ask your Grep or Parcha contact. If the provider has an API and your organisation can supply credentials, it can usually be added as a tool.
Step 5: Define inputs
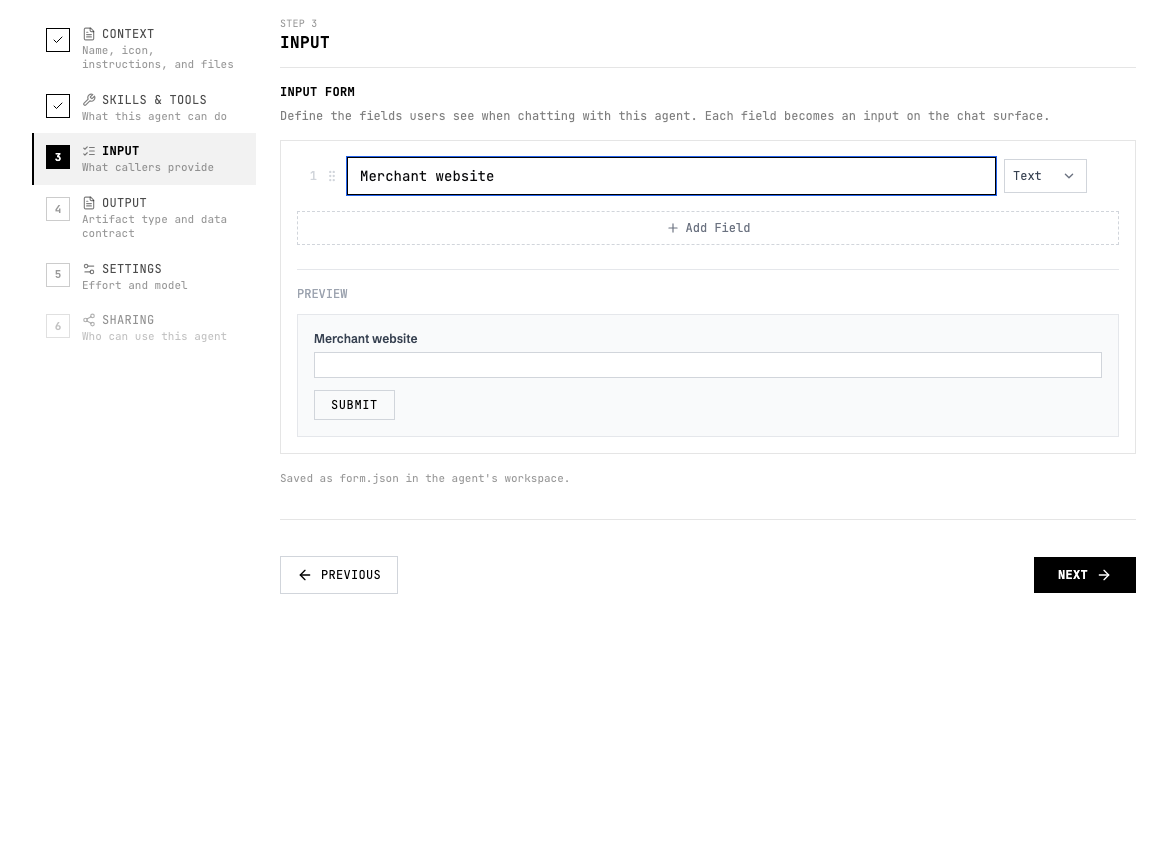
Define input fields so manual users and API callers provide the same run-specific data each time.
Inputs are the data that changes from run to run. If a human has to type or upload it for each case, it is probably an input. If every run should use the same material, it belongs in Context.
Use inputs for | Use Context for |
|---|---|
Merchant name | MCC reference table |
Website or domain | Risk policy |
Submitted MCC or industry | Escalation rules |
Business description | Examples of good decisions |
Questionnaire, notes, or attachments for this case | Standard questionnaire template |
For manual use, define form fields so every user provides the same data. For API use, the agent can receive a JSON payload. Keep the field names stable so downstream systems can rely on them.
Step 6: Define outputs
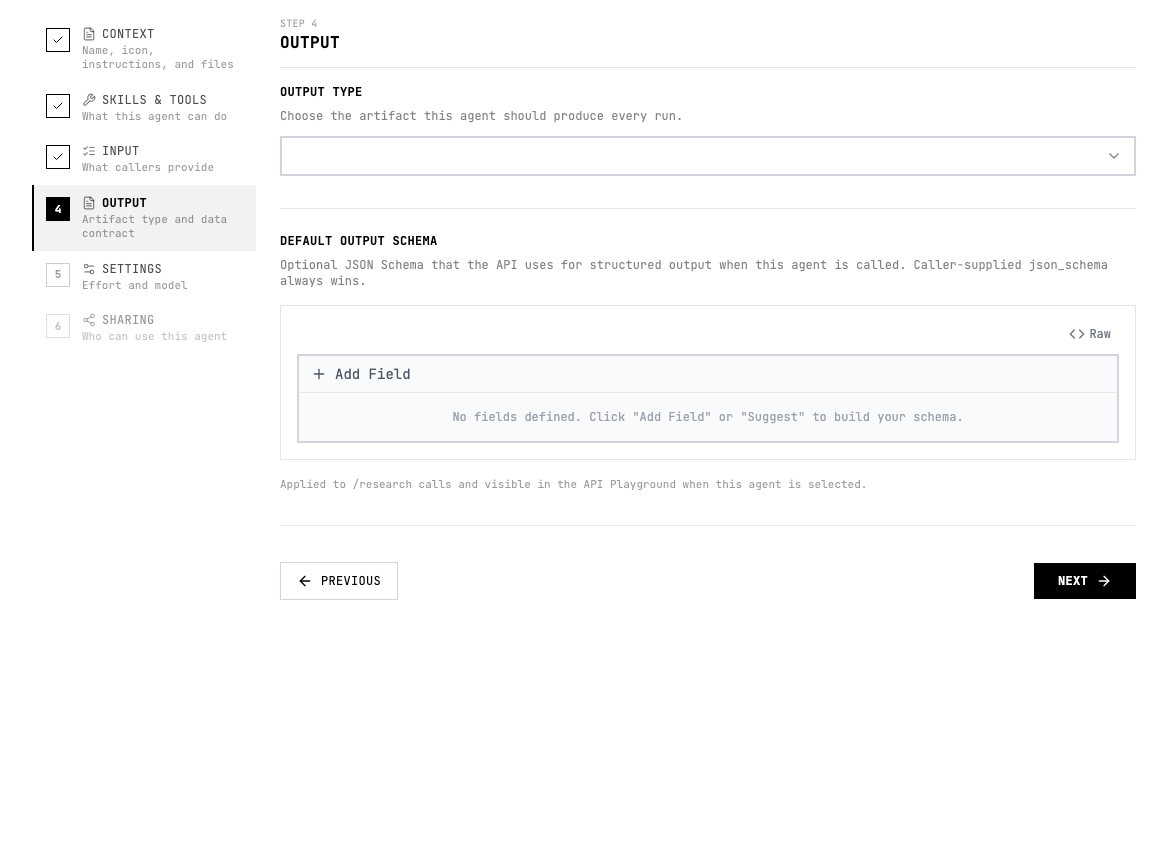
Choose the output type and add a JSON schema when the result needs to feed a review queue, database, or API workflow.
Decide what the agent should produce before you test it. If the output will feed a database, API, review queue, or internal workflow, use a JSON schema. Treat the schema as the set of fields a downstream system needs.
Example output schema for an MCC validation agent:
{
  "merchant_name": "string",
  "merchant_website": "string",
  "submitted_mcc": "string",
  "recommended_mcc": "string",
  "recommended_mcc_label": "string",
  "mcc_match_status": "match | mismatch | unclear",
  "confidence": "number from 0 to 1",
  "reasoning_summary": "string",
  "evidence": [
    {
      "source": "string",
      "finding": "string",
      "url": "string"
    }
  ],
  "risk_flags": [
    {
      "flag": "string",
      "severity": "low | medium | high",
      "rationale": "string"
    }
  ],
  "recommended_action": "approve | review | escalate",
  "analyst_notes": "string"
}
For human review, a report or memo-style output may be easier to read. For operational workflows, structured JSON is usually better. Some workspaces may also support output types such as documents, spreadsheets, PDFs, dashboards, slide decks, data explorers, or public pages.
Step 7: Choose effort and model settings
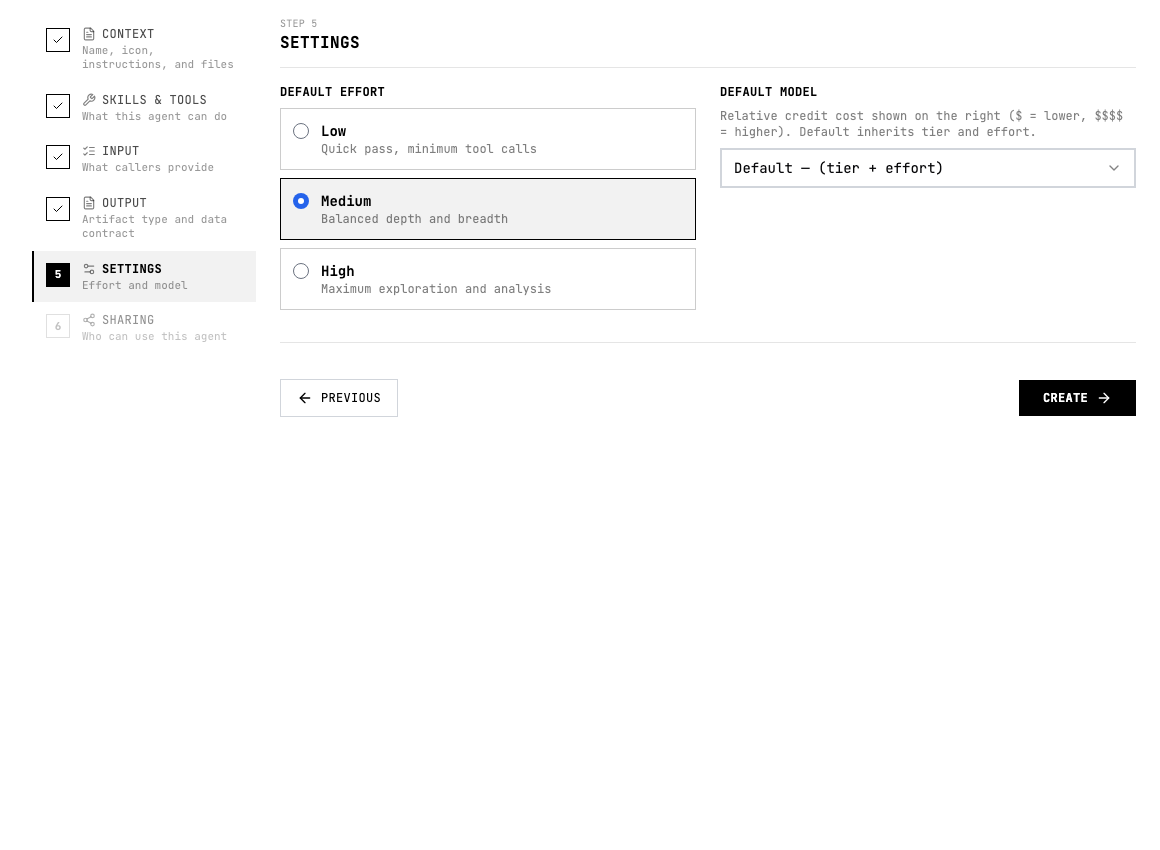
Set effort and model defaults based on how much depth, source checking, and reasoning the workflow needs.
Use the lowest setting that still meets your accuracy and evidence requirements.
Setting | Use when |
|---|---|
Low effort | The task is narrow, simple, or mostly deterministic. |
Deep | The task needs multi-step research, synthesis, or standard due diligence. |
Ultra deep | The output is high-stakes, requires careful fact checking, or needs stronger confidence calibration and citations. |
If your workspace exposes model choices, start with the default recommended model for the task. Increase effort or use a stronger model when the agent needs deeper reasoning, not merely because the prompt is long. If costs are too high, first remove unnecessary steps, move deterministic checks into tools, and tighten the context before lowering quality settings.
Step 8: Test with evals before sharing
Do not publish an agent broadly after one happy-path run. Build a small evaluation set and run it before sharing.
A good first eval set includes 10 to 20 examples:
Easy cases where the answer is obvious.
Ambiguous cases that should be escalated.
Cases with incomplete or conflicting evidence.
Known false-positive or false-negative risks.
Examples from different countries, languages, or industries if those appear in production.
At least one case where the agent should say it does not know.
Score each run against a rubric. Useful eval criteria include:
Correct classification or recommendation.
Evidence quality and source coverage.
Confidence calibration.
Correct escalation behaviour.
JSON validity and schema compliance.
Clarity of reasoning for a human reviewer.
When an eval fails, fix the narrowest cause first. Add an example, clarify an instruction, improve a context file, or split a workflow step into a skill before changing the whole agent.
Step 9: Share the agent
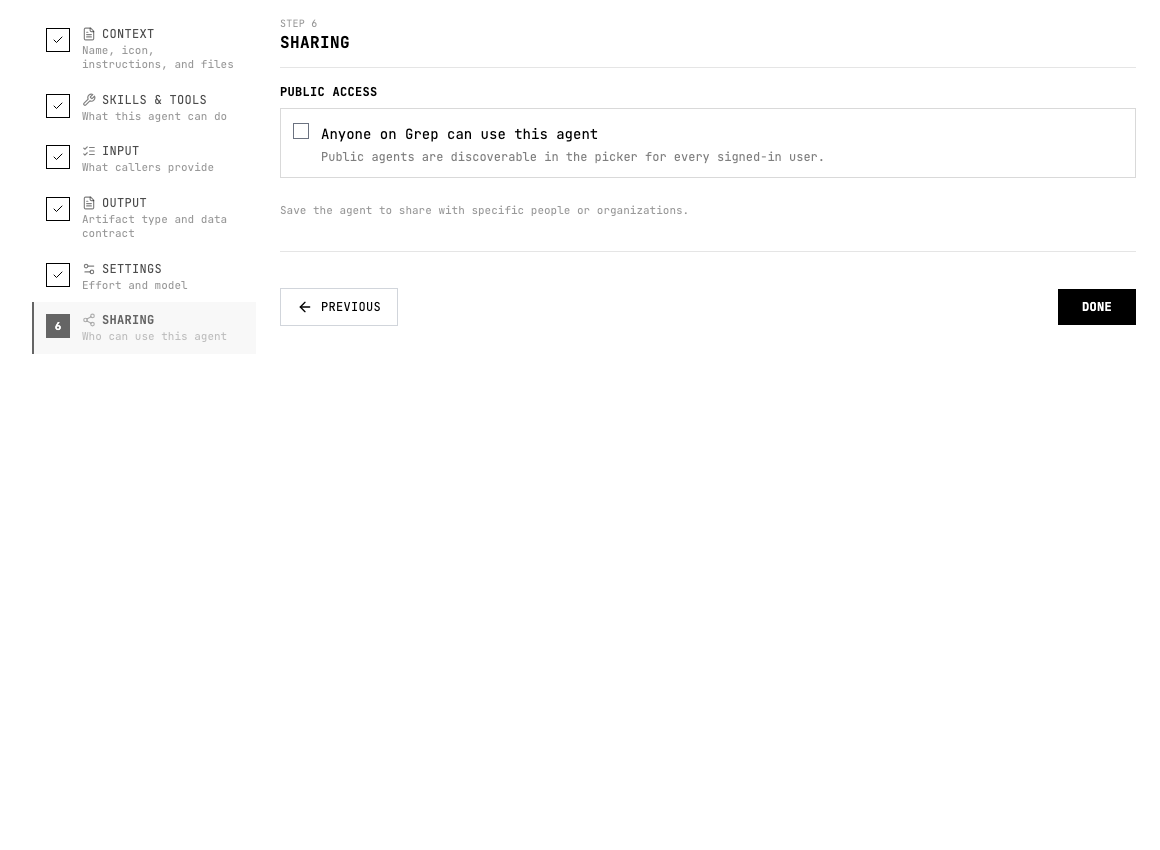
Choose who can use the agent only after testing it on known examples and tightening the instructions.
When the eval set passes, share the agent with the right audience inside your organisation. For production workflows, use a clear naming convention that includes the workflow, owner, and version.
Recommended governance:
Let builders draft and copy agents freely.
Require an owner before an agent is used in production.
Keep a short changelog for instruction, context, skill, or schema changes.
Re-run evals before broad sharing or API use.
Restrict production agents to your organisation or domain unless your admin has approved otherwise.
If you want to call the agent from another system, use the API details shown in the agent after creation. Test with a representative JSON payload before wiring it into a live workflow.
Common fixes
Problem | Fix |
|---|---|
The agent ignores a policy file. | Reference the file by name in the instructions and state exactly how it should be used. |
The output shape keeps changing. | Add or tighten the JSON schema, mark required fields, and include one valid example. |
Manual runs are inconsistent. | Use structured input fields instead of free-form instructions. |
The agent over-escalates. | Add examples of acceptable risk, define confidence thresholds, and clarify escalation rules. |
The agent misses important evidence. | Add a research skill for source coverage and require citations for key claims. |
The agent is too expensive. | Move deterministic checks to tools, reduce broad research steps, and use lower effort only after evals still pass. |
A needed source is not available. | Add it as Context if static, pass it as an input if run-specific, or request a tool integration if it requires an external API. |
Launch checklist
The objective is clear and narrow.
The instructions describe the full workflow.
Every uploaded context file is referenced where it matters.
Run-specific fields are inputs, not buried in Context.
Each major workflow step has a skill or explicit instruction.
Required tools are connected and tested.
The output format is defined before testing.
The eval set includes easy, ambiguous, and failure cases.
Ownership, versioning, and sharing permissions are clear.